How to use Github Copilot and shortcuts
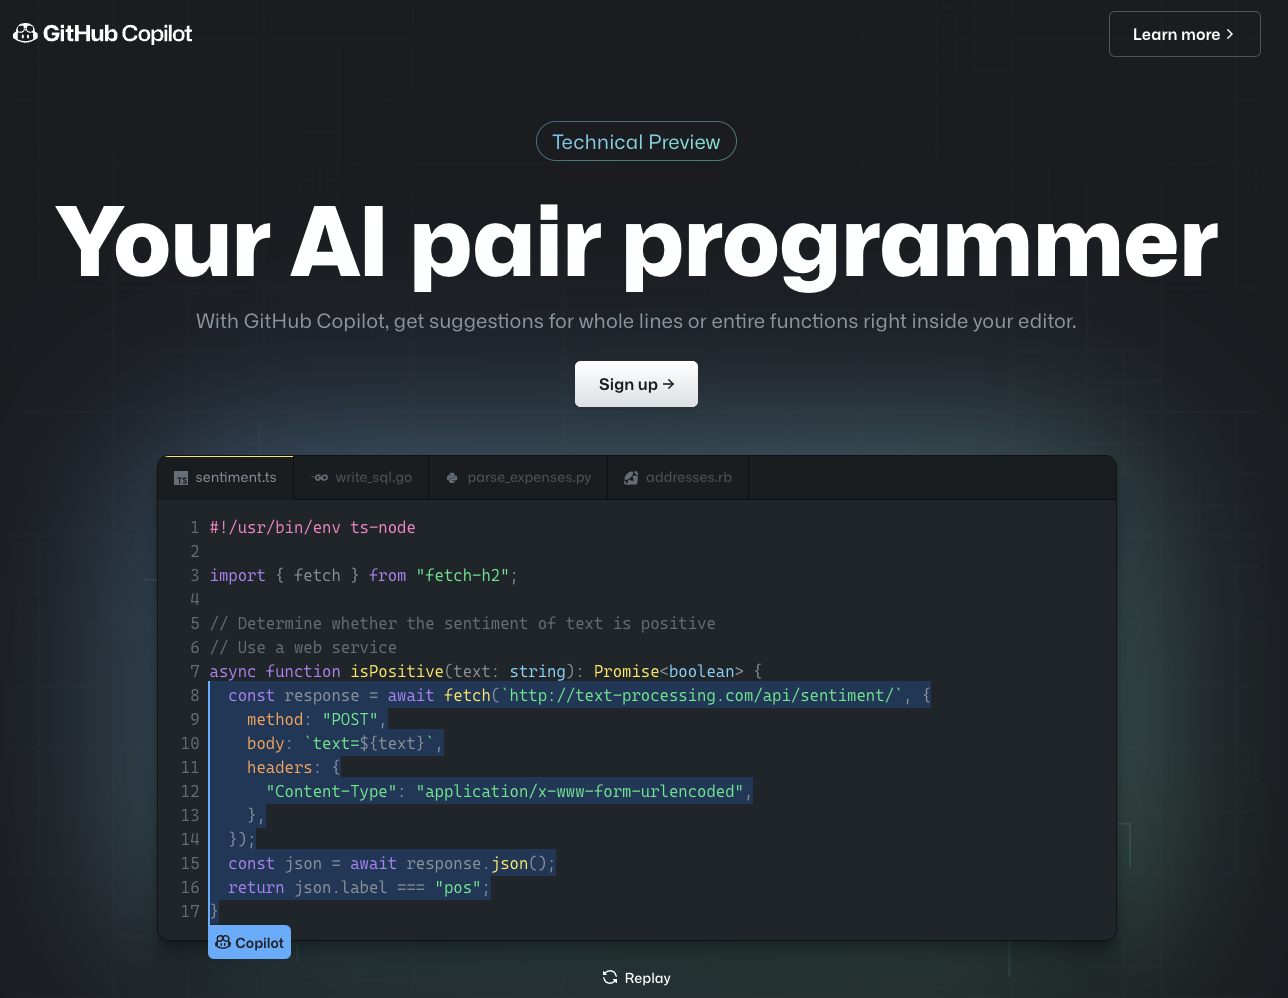
What is Copilot
Copilot (https://github.com/features/copilot/) is an AI coding aid provided by Github that provides AI-learning based coding suggestions during the coding process. In many cases, all that is needed is comments or function names, and Copilot can instance the complete code.
Copilot is not free any more, the price is 10 dollars/month or 100 dollars/year. But you can try it for free for 2 months. Visit Github settings page (https://github.com/settings/copilot) and click the buttons to get access. Once you get the access, you can use Copilot on Github.
Installing the plugin
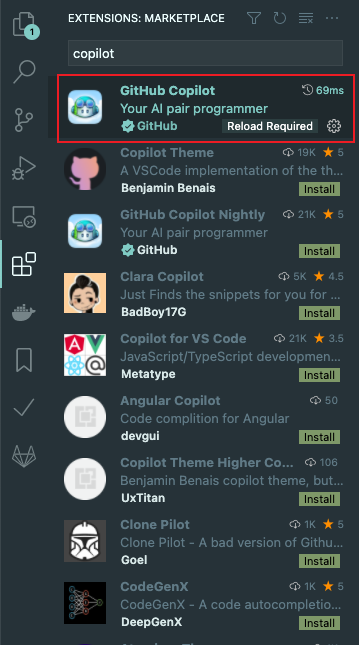
To use Copilot, you need to install a plugin, search Copilot in VSCode's plugin menu to find the plugin, the name is Github Copilot, the corresponding plugin marketplace address is https://marketplace.visualstudio.com/items?itemName=GitHub.copilot, install it.
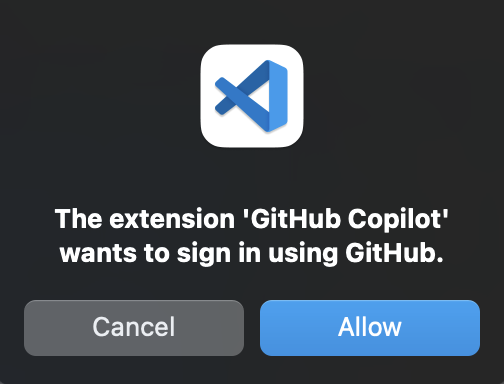
After installation, the plugin will prompt for Github login, just follow the instructions to login.
Follow the instructions to log in.
Use
In normal use, when Copilot gives a suggestion, the suggested code appears behind the cursor position and is displayed in gray text. If you do not want to use the suggestion, just keep entering the code, if you want to use the suggested code, just press the Tab key.
In VSCode, Copilot has an icon that needs to be confirmed that the status is on. When it looks similar to other icons and has no background color, it means it is on, at this time when you edit the code file, Copilot will automatically prompt for code suggestions. When it has a background color (red, dark yellow, etc.), it means it is off. If you want to switch the status, just click it and select Globally.
![]()
Shortcut keys
Copilot also provides some shortcut keys that can be easily used.
- Accept suggestions:
Tab - Reject suggestion:
Esc - Open Copilot:
Ctrl + Enter(will open a separate panel showing 10 suggestions) - Next suggestion:
Alt/Option + ] - Previous suggestion:
Alt/Option + [ - Trigger in-line Copilot:
Alt/Option + \(Coplit hasn't given a suggestion or the suggestion has been rejected and wants to manually trigger it to provide a suggestion)

Http proxy
Some users (for example, the users in mainland China) may encounter the problem of Copilot not working, and the reason is that Copilot cannot access the Internet or Github api. You can see the following error message in the output panel: GitHub Copilot could not connect to server. Extension activation failed: "connect ETIMEDOUT xxx.xxx.xxx.xxx:443".
In this case, you need to set the http proxy.
First, get your http proxy info. You can ask your network administrator for the proxy address and port, or if you use a proxy software, you can find the proxy address and port in the proxy software settings.
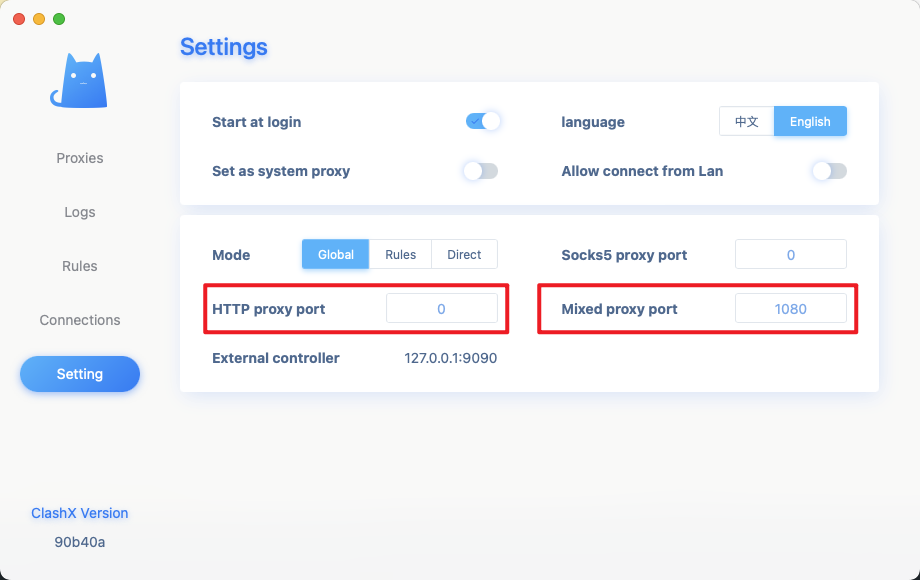
Below is an example of using the proxy software ClashX, you can find the proxy address and port in the Settings tab, the proxy address is 127.0.0.1:1080.
Then, open VSCode's settings, search http.proxy, and set the proxy address and port.

After setting, restart VSCode, and Copilot should work normally.